By Matt Freedman
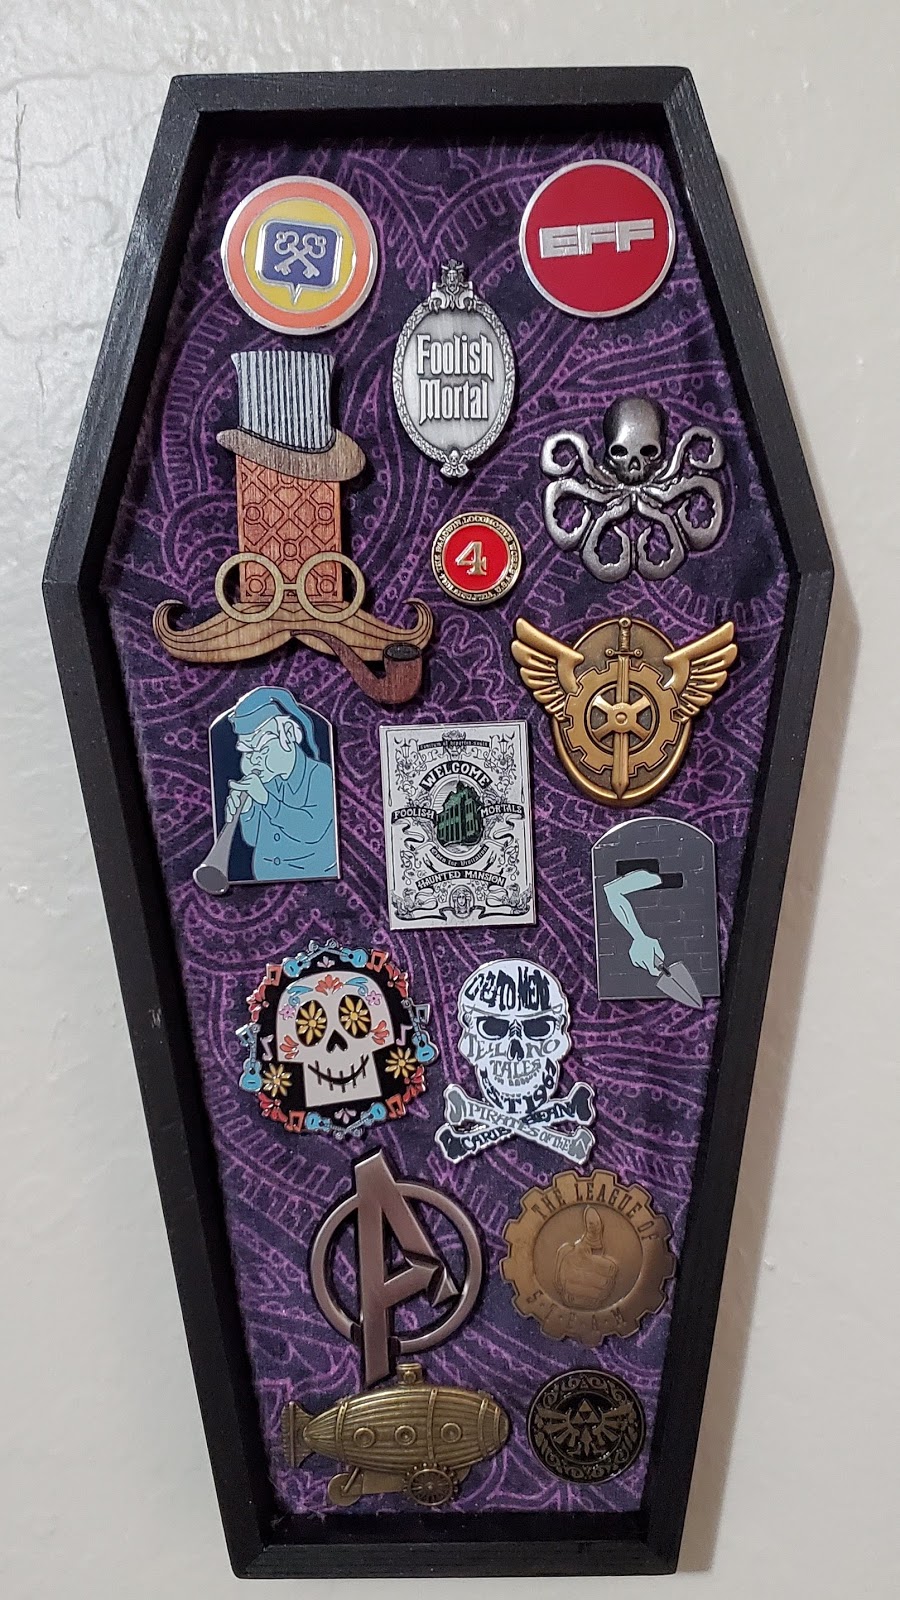
As my collection of enamel pins grew, I realized that I needed somewhere to display them. At a con, I saw a vendor selling coffin-shaped pinboards. I ordered a custom one, but realized that I needed something larger. I did some online research about making my own pinboard from old mirror frames. Luckily, I found such a frame at a local thrift store. Since then, I have made 3 pinboards. Each one uses different techniques and has an overall different style.
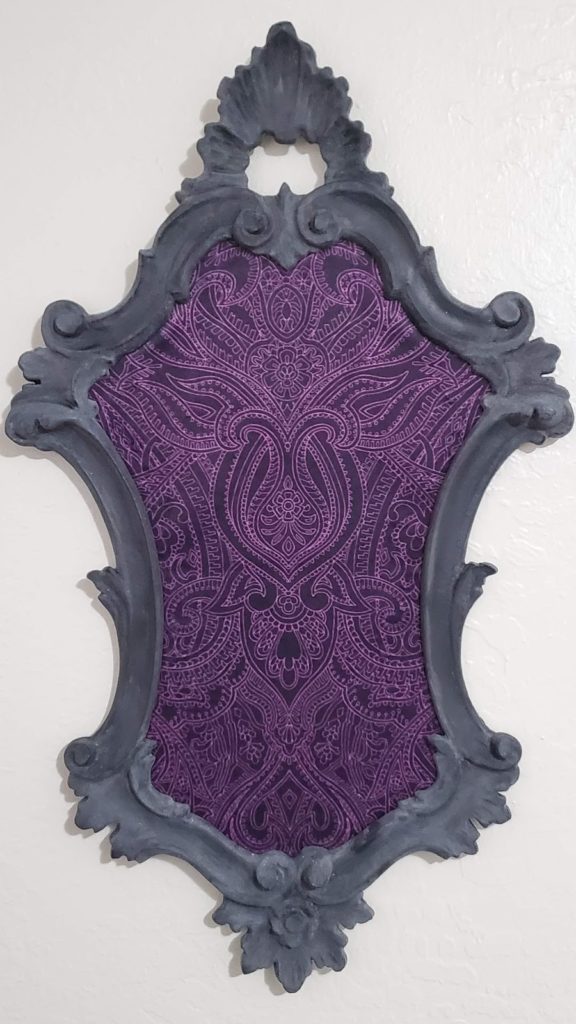
My first one only involved removing many layers of existing paint and cleaning up all of the details:
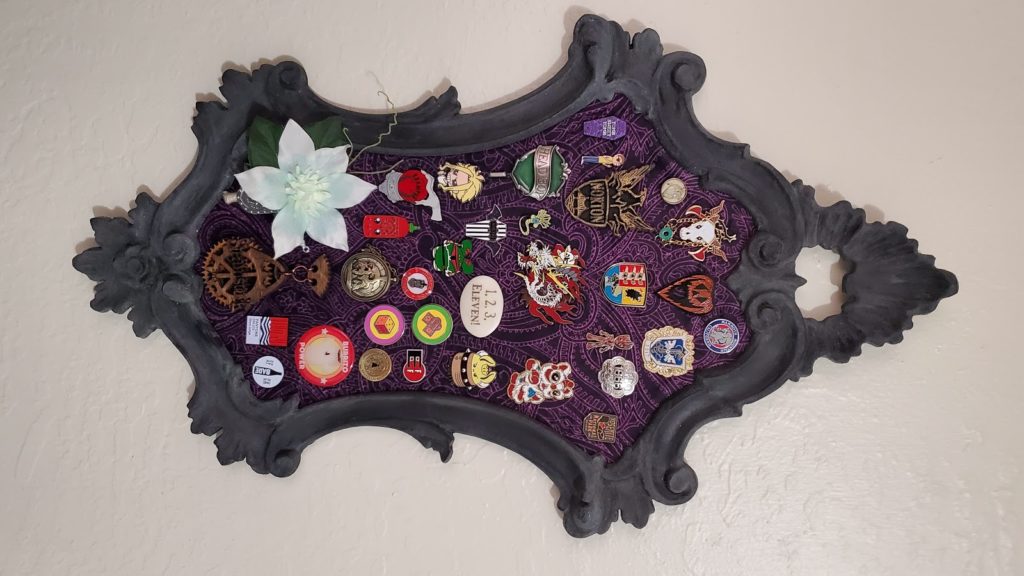
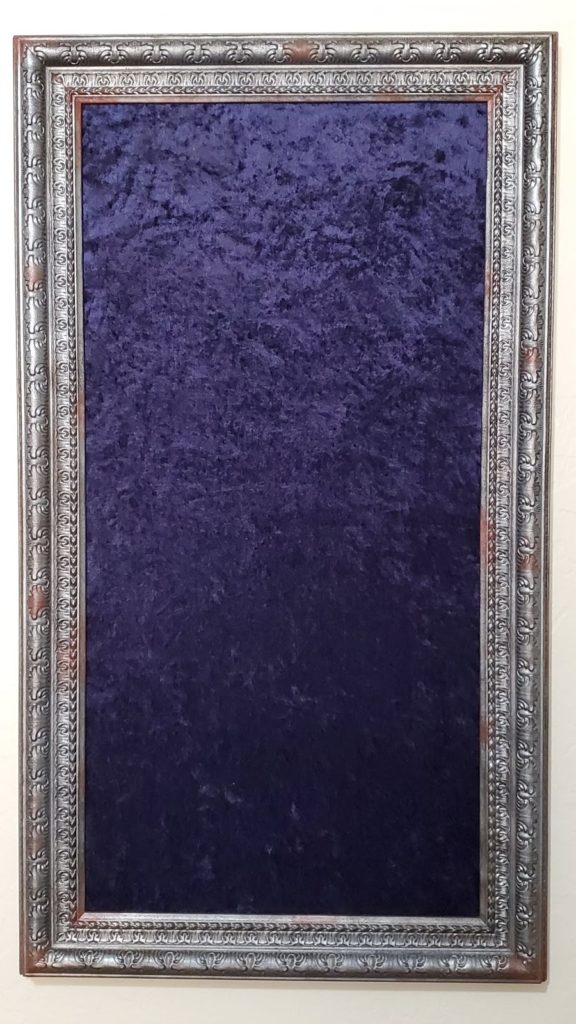
My second one only involved some minor touchup to damaged sections of the frame:
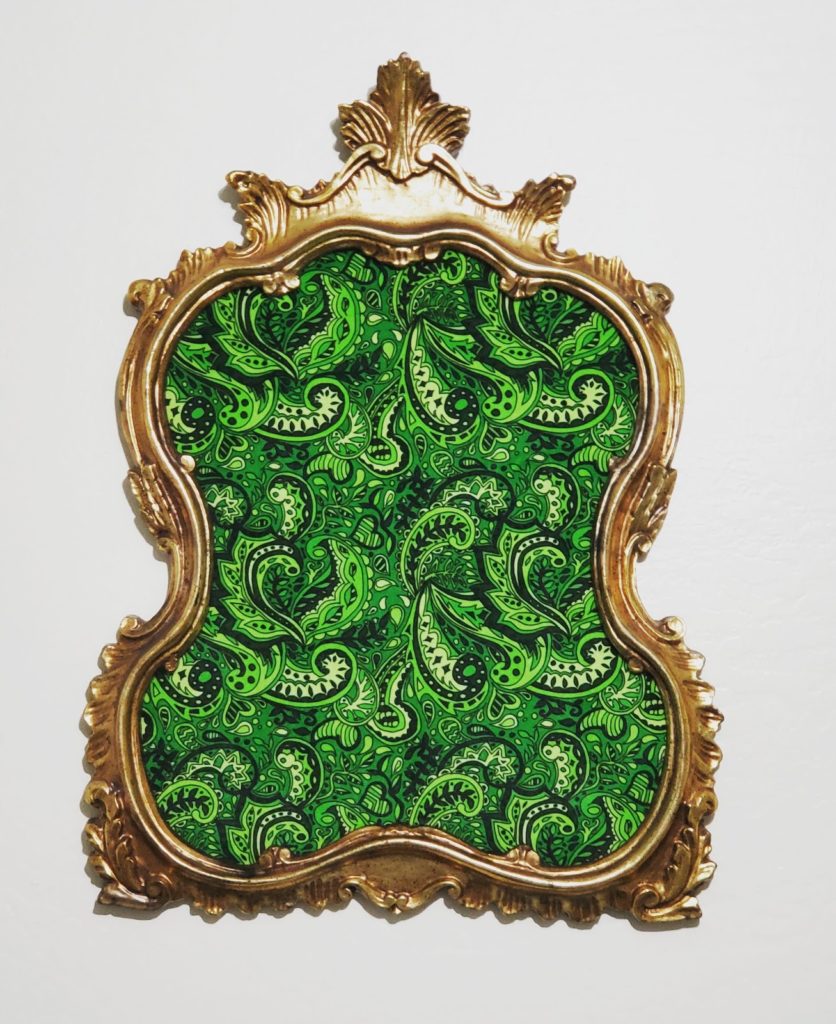
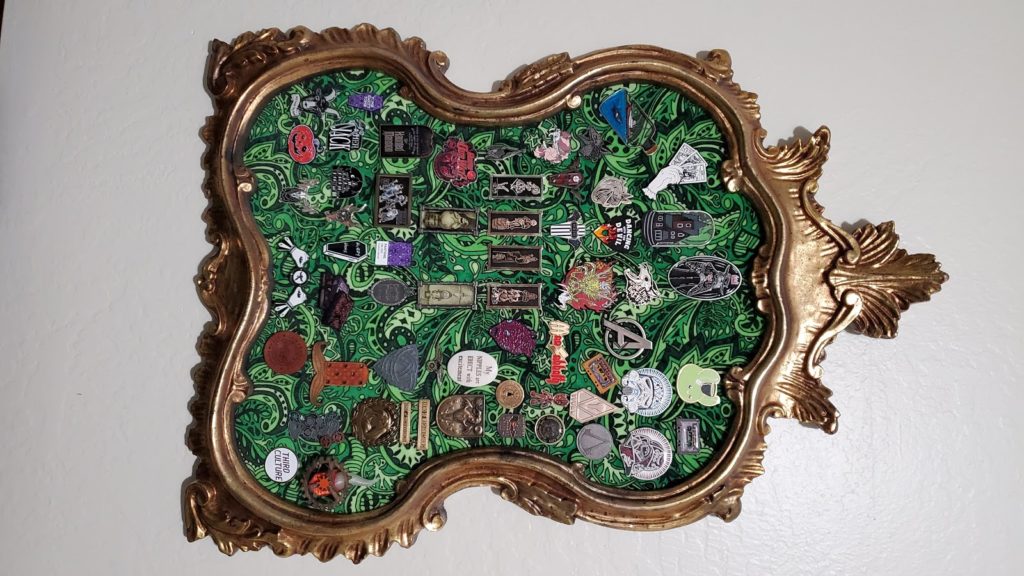
My latest one required completely repainting and changing the look of the frame.
How to Make Your Own Pinboard
Based on my experiences, I came up with the following steps to create a pinboard out of old mirror frames:
- Decide what you want the pinboard to look like. One of mine has no new paint added and another only has touch ups. The latest one has a complete paint job.
- Take the mirror apart and clean the frame. I use acetone to remove grime and old paint, but rubbing alcohol or even soapy water will do.
- Paint the frame. When repainting the frame, I start with a coat of primer to give the paint better adhesion. After that, I spray the base color. I normally go with metallic paint.
- Add details. With my most recent pinboard, I used extensive dry-brushing in various dark colors to dull the shiny paint and give the frame a heavily weathered look. There was some damage on the corners of the frame, so I made those paints look rusty. For this work, I used basic acrylic paint and extremely cheap boar-hair brushes (dry-brushing damages them, so the cheaper the better).
- Seal the frame. I use a matte polyurethane spray to seal the paint and give it resistance to damage.
- Cut the corkboard. I use a cork-wrapped fiberboard. It is more difficult to cut, but lets you skip putting a backing board on the frame. I take the mirror and trace it onto the corkboard. I cut it out with a box cutter, taking multiple passes to make cutting the fiberboard easier. I check the fit of the board in the frame and sand the edges as needed to give a fit with enough space for the fabric. I use fine sandpaper to round all of the edges on the board to prevent it catching the fabric.
- Attach the fabric. A dense velvety fabric works best, but any fabric with a dense weave will do. Pick something that will make your pins pop visually. I lay the fabric face down on a clean surface and place the board face down on it. I use a staple gun to secure the fabric to the back of the board (normally with 3/8” staples). Check the face of the fabric often to prevent wrinkles.
- Attach the pinboard to the frame. I also use a staple gun for this part with wooden frames. On a metal frame, you will need to use a string adhesive.
- Hang your new pinboard and enjoy it!
I want to thank https://www.livelyghosts.com/ for inspiring me to start this journey. I purchased my coffin pinboard from them. They make an amazing selection of pinboards with new releases every month or so. The owner also gave me a lot of tips while I planned out my first pinboard.

Here are some sites that I used as references: